Click to upload or drag & dropPNG, JPG, WebP up to 8 MB
No image selected

Start with 5 free credits. Sign in for 10 more, once per account. Each generation uses 5 credits: up to 3 free tries.

Tattoo Stencil Maker

Convert tattoo photos into clean stencil linework online.

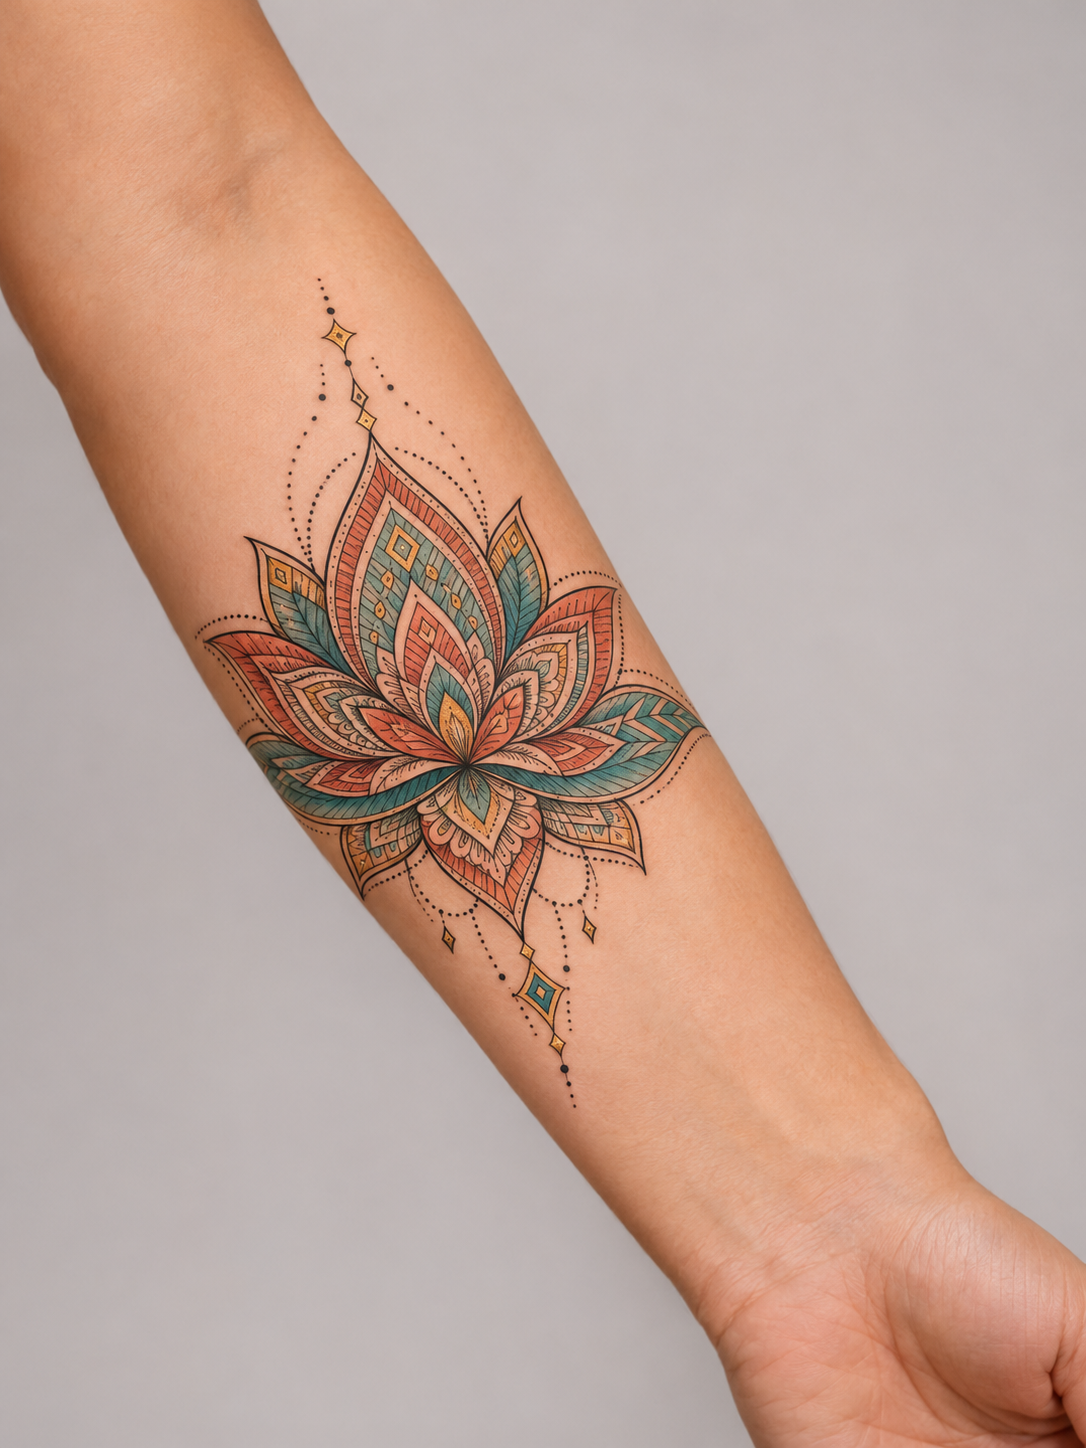
Our color lotus tattoo example on a clean, angled forearmBefore
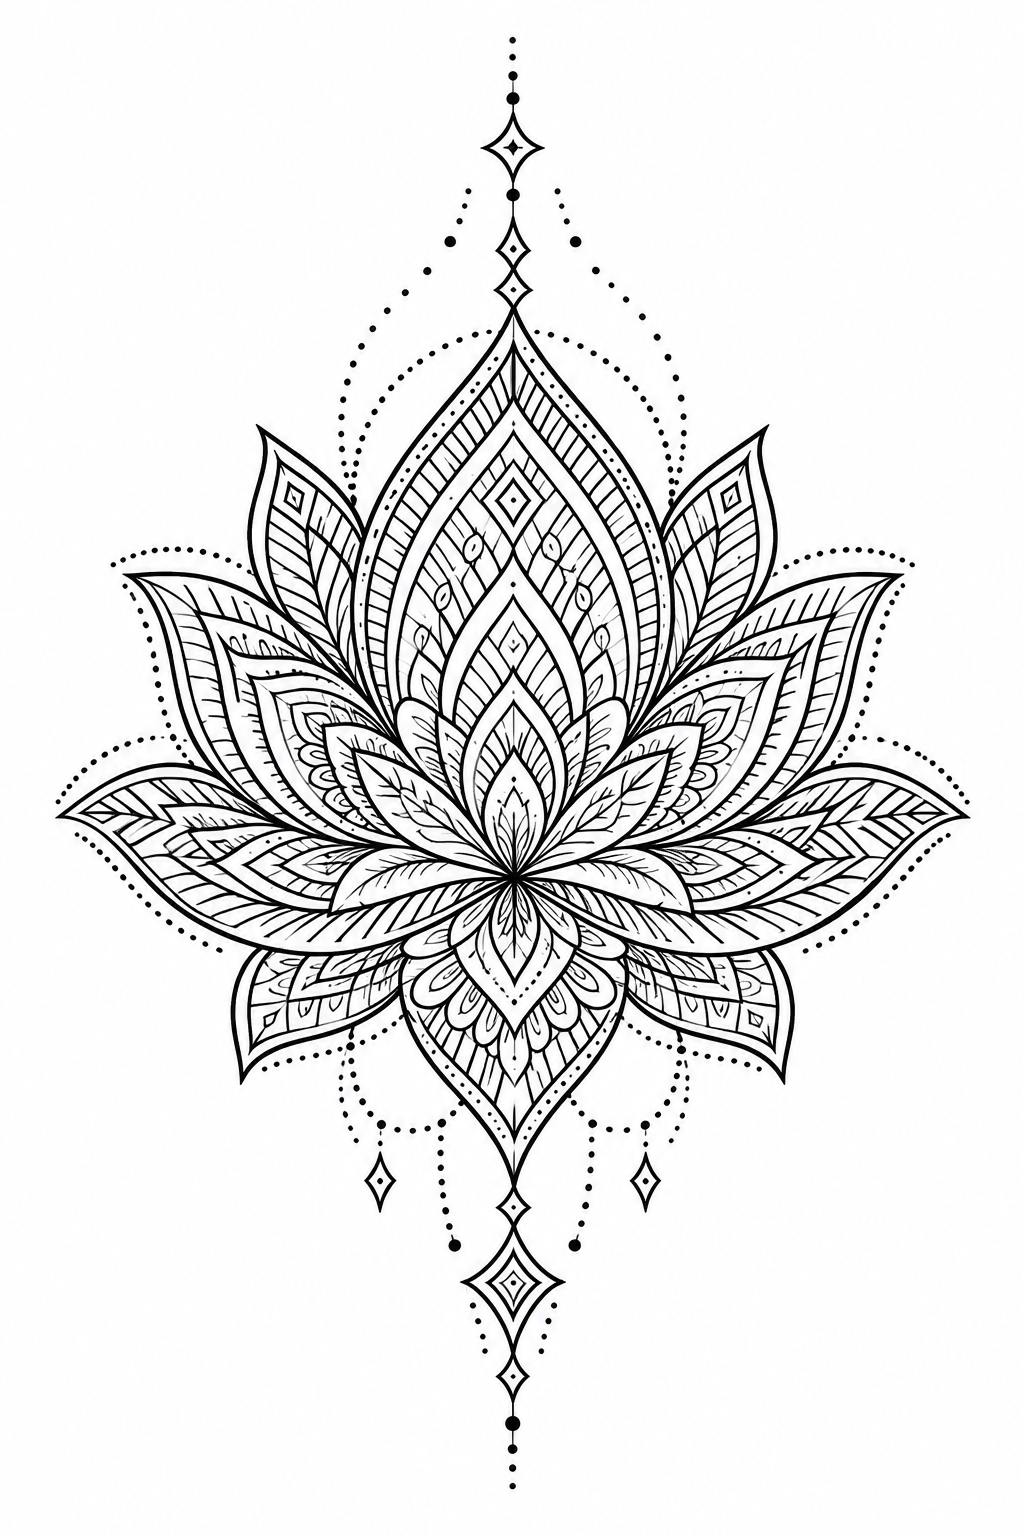
Our geometric lotus design example on a white backgroundStencil Outline
ILLUSTRATIVE EXAMPLE · AI-CREATED ARTWORK

Your Recent Designs

Artwork is kept for 30 days.

View all
Your completed designs will appear here automatically.
TATTOO STENCIL MAKER

Your tattoo photo. Clear black linework.

Turn a tattoo photo or existing artwork into a stencil-style design. Separate the motif from skin and color, compare the result, then download a reference to edit or share with your tattoo artist.

Try your tattoo photo
Teal and coral butterfly tattoo on a clean, naturally angled forearmTattoo photo
Actual black butterfly linework extracted by InkByYou from the color tattoo photoExtracted linework
Our AI-created reference photo → actual InkByYou Stencil Outline output.
Red rose tattoo with colored shading, layered petals and green leaf veinsTattoo photo
Actual InkByYou rose outline showing the extracted petals, leaves and stemExtracted linework

Compare the complete motif, from the top bud to the stem.

Our AI-created reference photo → actual InkByYou Stencil Outline output.
FROM COLOR TO CONTOUR

See the linework beneath the color.

A tattoo stencil maker turns an existing tattoo photo or drawing into black-on-white linework. In this rose, the colored petals and shaded leaves become a standalone outline you can review with your artist.

Bring the design off the skin
The skin and photo background give way to white, so the shape is easier to see.
Turn shading into readable contours
Compare the petal folds and leaf veins. Switch to Petal detail for a closer look at the changes.
Convert my tattoo photo

AI may simplify or change details. Check small gaps, lettering and proportions against your reference before use.

Starting with an ordinary photo? Design a tattoo first
BEFORE YOU UPLOAD

Choose a photo where the whole tattoo is easy to see.

A clear reference gives you more detail to work with. Before uploading, check the light, focus and edges of the design.

Clear complete butterfly tattoo reference, recommended for uploadRecommended

Start here: clear, complete, evenly lit

Keep the whole motif visible, with a little space around it. You should be able to see the lines without guessing.

If you can retake the photo, fix these first.

The same reference with a simulated bright glare over the tattoo

Strong reflections

Move into soft, even light. Avoid bright reflections that wash out the lines.

The same reference blurred to illustrate an out-of-focus upload

Out of focus

Use the sharp original file. Tap to focus on the tattoo and keep the camera steady.

A cropped view illustrating missing edges of the butterfly tattoo

Edges cut off

Step back until every tip, petal and letter is in frame. Leave room around the edges.

Photographing an arm or another curved area?

Face the center of the tattoo with the camera. If part wraps out of sight, take a clearer view; a flat output cannot guarantee the original proportions or recover hidden lines.

Same reference, with simulated glare, blur and cropping to illustrate what to avoid. These are photo tips, not examples of repaired images.

Got a clear reference?PNG, JPG or WebP · up to 8 MB · use an image you own or have permission to use.

Upload my tattoo photo
ONE REFERENCE · THREE DIRECTIONS

Choose what you want to take from the photo.

Extract the lines, keep the colored artwork, or explore a new design. These three modes serve different goals.

I need lineworkStencil Outline

Stencil Outline

Turn the existing motif into black contours on white. Choose this to review outlines, spacing and fine details with your artist.

I want the colorOriginal Tattoo

Original Tattoo

Separate the existing tattoo from the photograph while keeping its colored and shaded appearance. Choose this for a standalone artwork reference.

I want to change the designAI Design Upgrade

AI Design Upgrade

Use the reference as a starting point for a revised design. Shapes and decoration may change. Add a note in the workspace about what to keep or change.

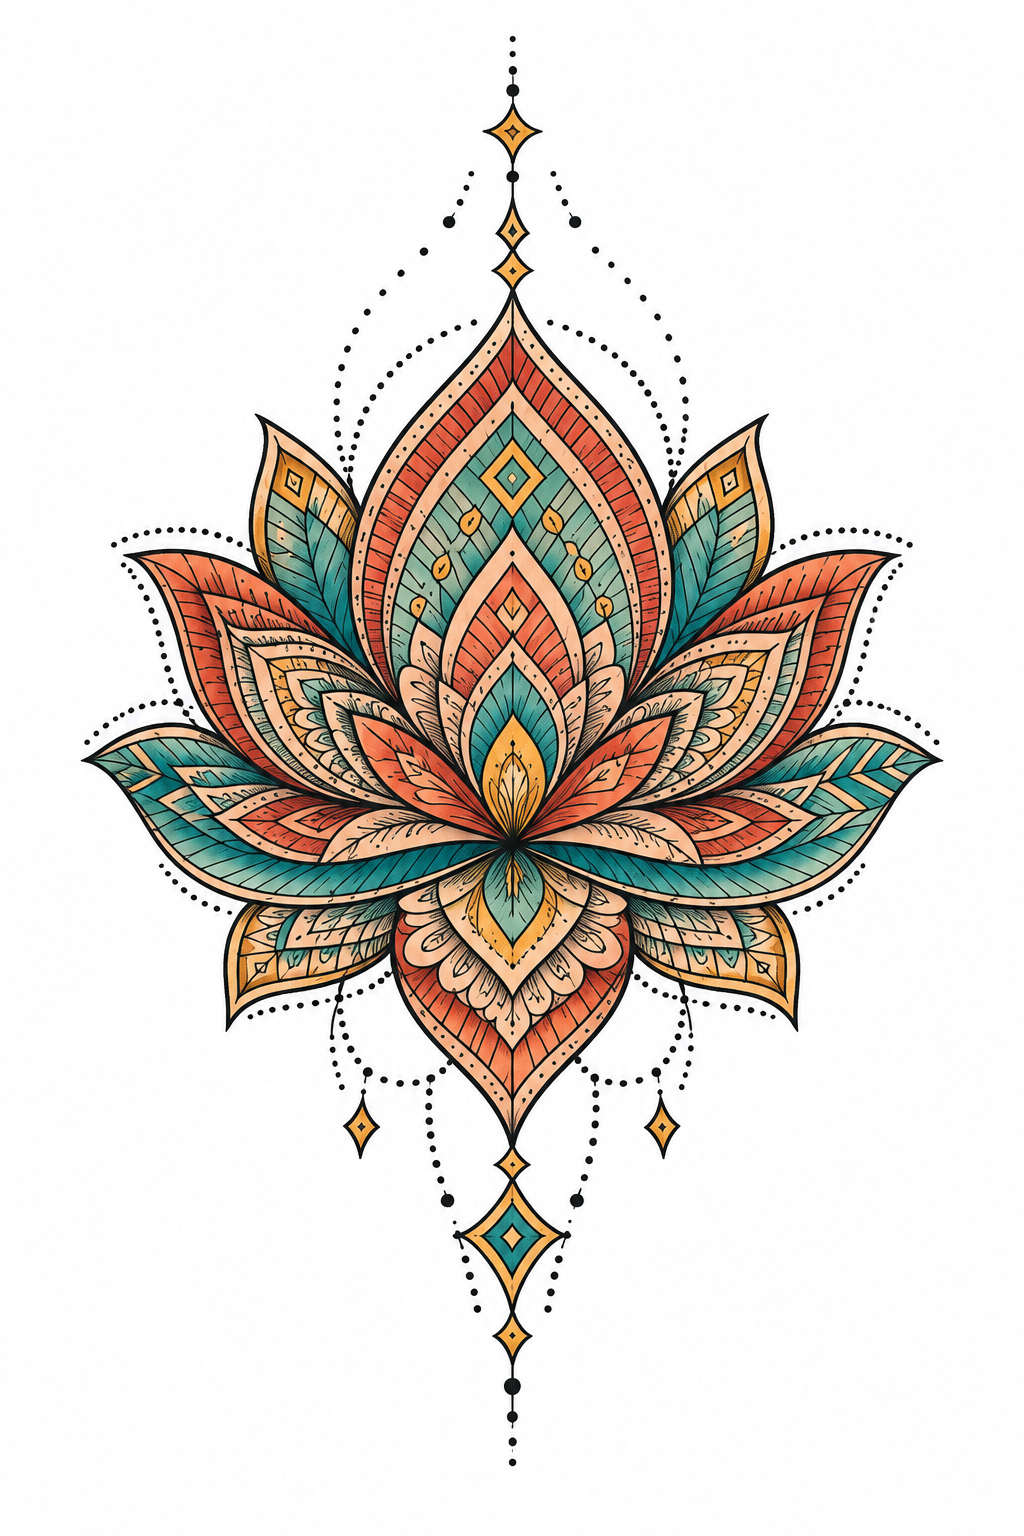
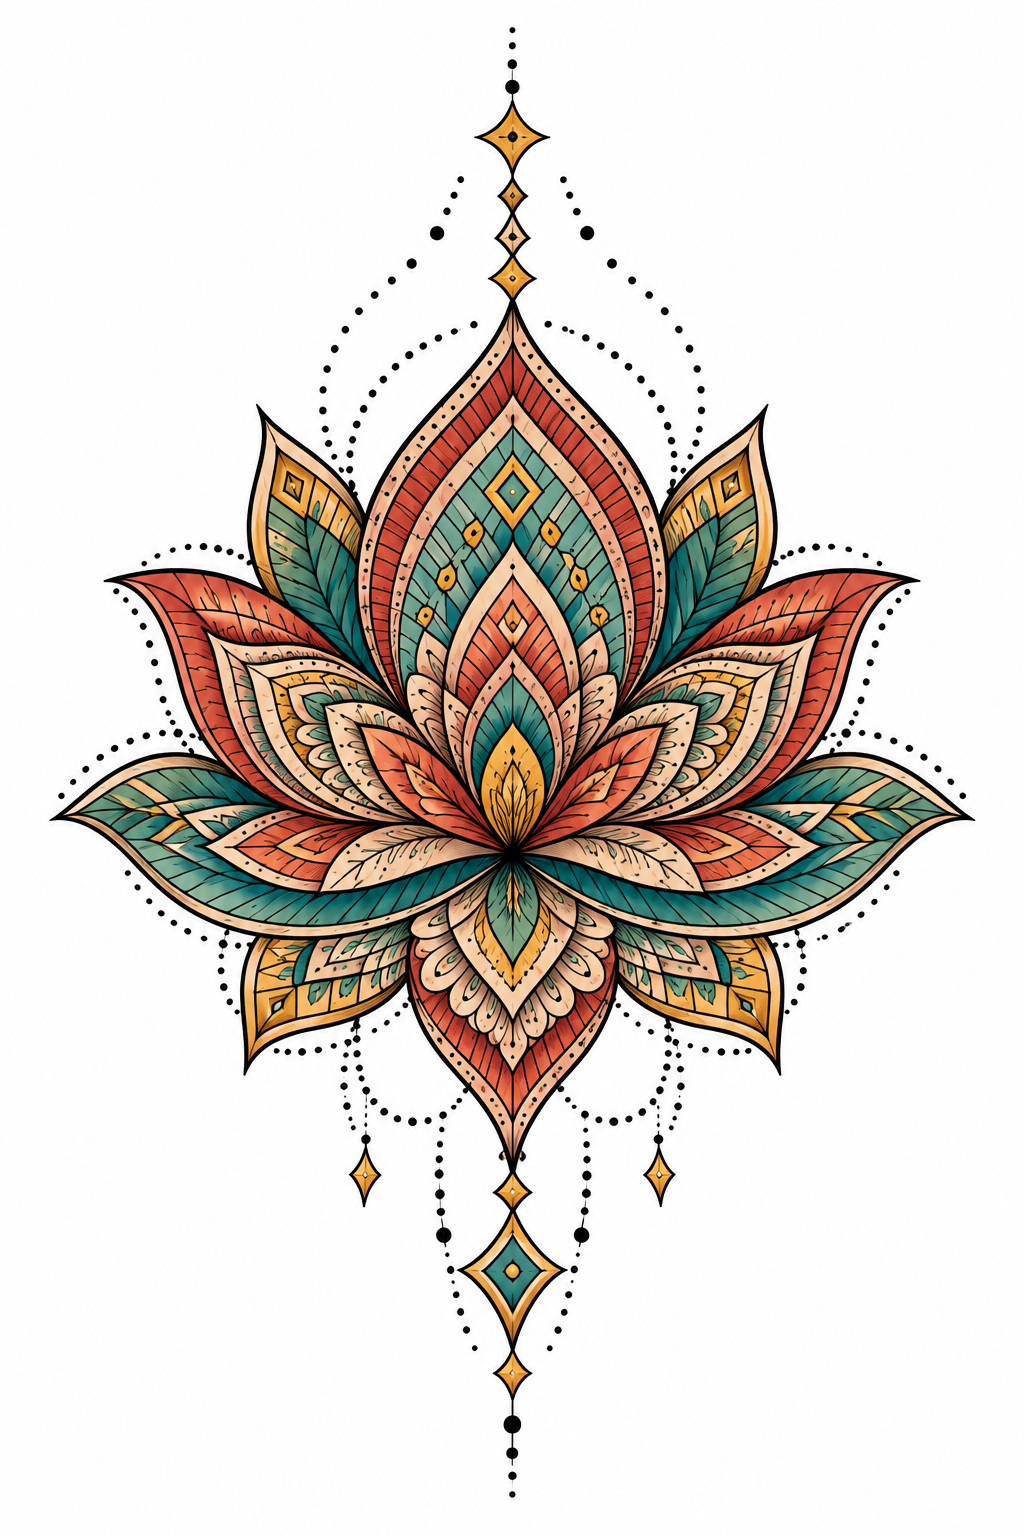
Illustrative lotus examples. Stencil Outline and Original Tattoo extract the existing design; AI Design Upgrade intentionally changes it.

Choosing a mode returns you to the workspace and keeps your selected image. It does not start a conversion.

AFTER YOU DOWNLOAD

Download the artwork. Set the size before you print.

Keep a PNG for editing and a sized PDF for paper. Our free Basic Stencil tool handles width, paper size and mirroring after you download your AI result.

  1. 01

    Download the original PNG

    Use the unlocked original from My Ink. Keep this file for edits and for sharing with your artist.

  2. 02

    Upload it to Free Basic Stencil

    Set the design width in cm or inches, choose A4 or US Letter, and mirror if your transfer workflow needs it.

  3. 03

    Export a sized PDF

    Print at Actual size / 100%. Measure the 20 mm calibration line and ask your artist to check the final size.

Size my stencil for printingExplore the lotus sample first

PNG keeps pixel dimensions; PDF carries the physical size. Have your artist check line quality and transfer suitability.

Actual image width, mirror and PDF download controls in InkByYouActual InkByYou Basic Stencil interface with image width, mirror, paper settings and linework preview
Our actual sizing workspace with the lotus example. Screen preview, not a physical print test.
Inspect the lines that will carry the design.
  • Outer shape and proportions

    Compare the full silhouette with the photograph. Check tips, stems, wings and the center axis.

  • Open gaps and intersections

    Look for petal gaps that closed, broken contours and small patterns that merged together.

  • Lettering and fine symbols

    Read every letter and number against the source. Ask your artist to correct details that must be exact.

  • Final size and print settings

    Set width, paper size and mirroring in Basic Stencil. Print at 100% and measure the calibration line.

THREE SIMPLE STEPS

Make your tattoo stencil in three steps.

The butterfly below shows the same reference and its actual Stencil Outline result. Start with your own image and follow the same steps.

01Original butterfly tattoo reference before conversion

Upload a tattoo reference

Upload a tattoo photo, sketch or finished design as PNG, JPG or WebP, up to 8 MB. Confirm you have permission to use it.

02Actual workspace showing Stencil Outline, Original Tattoo and AI Design Upgrade choices

Choose your output

Choose Stencil Outline for black linework, then create the stencil. Use Original Tattoo for color or AI Design Upgrade for a revised design.

03Actual Stencil Outline output created from the butterfly reference in step one

Compare, then download

Compare the silhouette, gaps and small details with your reference. Download the original PNG when unlocked; use Basic Stencil when you need a sized PDF.

Make my tattoo stencil

The free AI preview is smaller and watermarked. Original files follow the credit rules explained below.

Before you make your stencil

Can I use a colored tattoo photo, a sketch, or a portrait?

Use a photo of an existing tattoo, a sketch, or digital tattoo artwork. Colored tattoos can be converted to black linework. Turning an ordinary portrait or pet photo into a new tattoo is a different design task; Stencil Outline is intended to extract an existing motif.

Will every line and detail stay the same?

Stencil Outline and Original Tattoo aim to preserve the existing motif, but AI may still change or miss details. Check names, dates, small shapes and symmetry against the reference. AI Design Upgrade intentionally creates a revised version.

Can I use a blurry, faded or curved tattoo photo?

You can try it, but clearer input gives the tool more reliable detail to work with. If glare, blur or an angle hides important parts, another photo is the better starting point. Do not treat an AI reconstruction as an exact recovery of hidden artwork.

Is it free, and do I need an account?

Our AI tools share one free preview. Unlocking that preview’s original costs 1 credit. Later generations, including Remix, cost 5 credits and include the original image. Sign in to unlock originals, save favorites and manage sharing. The separate Basic Stencil tool offers free local PNG and sized PDF exports. First sign-in gives you 10 free credits, usable toward a generation or to unlock a preview.

Can I download a PNG, PDF, or SVG?

The AI tool downloads a PNG on a white background. The free preview is smaller and watermarked; unlocking gives you the original file. For a sized PDF, open the separate free Basic Stencil tool. SVG and layered vector exports are not currently available. You can edit the PNG in an image editor or use Remix to explore a new version.

Can I print the result and use it as a transfer stencil?

Use the result as a starting point for your artist to check. Confirm line quality, physical size and suitability for the intended transfer process before use. For paper-size, image-width and mirror settings, open the free Basic Stencil tool and export a sized PDF.

What happens if generation fails or I want another version?

A confirmed failed generation restores the credit or free-preview allowance used for it. If the request cannot be confirmed, its status is shown in My Ink and it is not automatically sent again. Starting a new generation or submitting a Remix creates another request; downloading an already unlocked file does not use another credit.

Will my uploaded tattoo photo be public?

Your reference and artwork are private by default and kept for up to 30 days. Favorites do not extend that period. A public link is created only when you explicitly enable sharing, and it shows a watermarked result preview rather than your uploaded reference. You can revoke the link. Upload only images you own or have permission to use.

Were these examples actually converted with the tool?

Yes. The butterfly and rose photos are our own AI-created references, processed with InkByYou’s Stencil Outline mode. Their paired linework shows actual tool outputs. The photo-quality examples are illustrations, and the sizing screenshot does not represent a physical print test.

Have a tattoo photo ready?

Start with a clear reference and see how it looks as linework.

Try your tattoo photoNo reference yet? Create a tattoo idea