How to Make a Tattoo Stencil From a Photo
Follow the edge of a butterfly wing from photo to linework, then make your own stencil, check the details, and print it at the width you want.
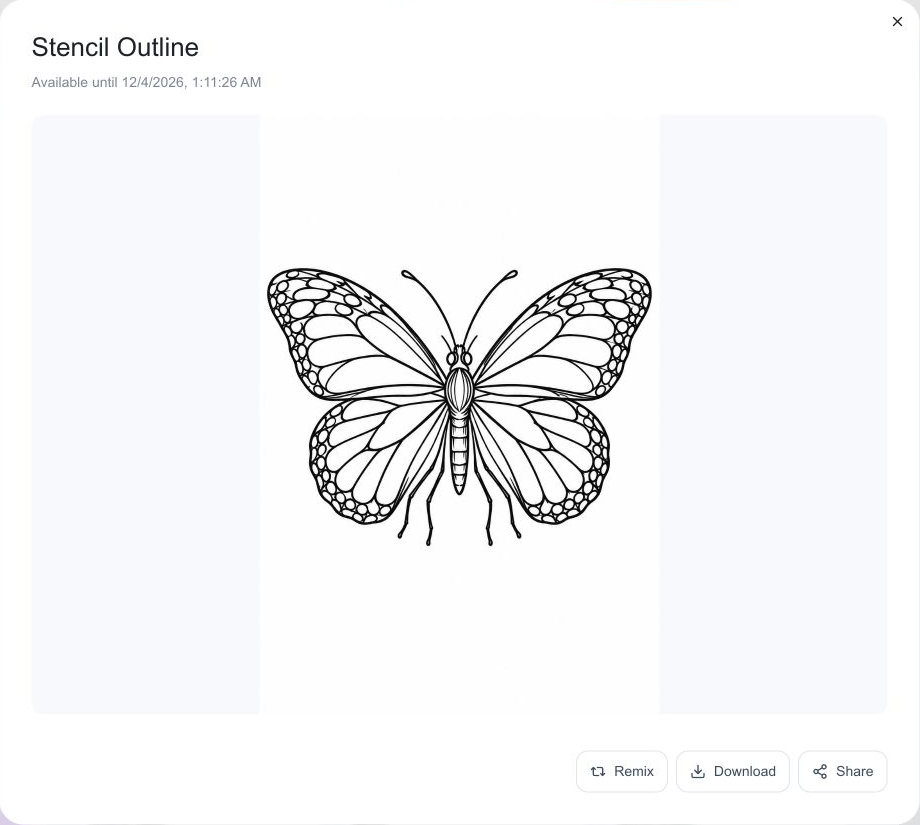
Start with the top edge of the butterfly’s left wing. Follow it in the photo, then find it in the linework. The colored patches are gone, but you can still follow the outside edge and the veins inside the wing.
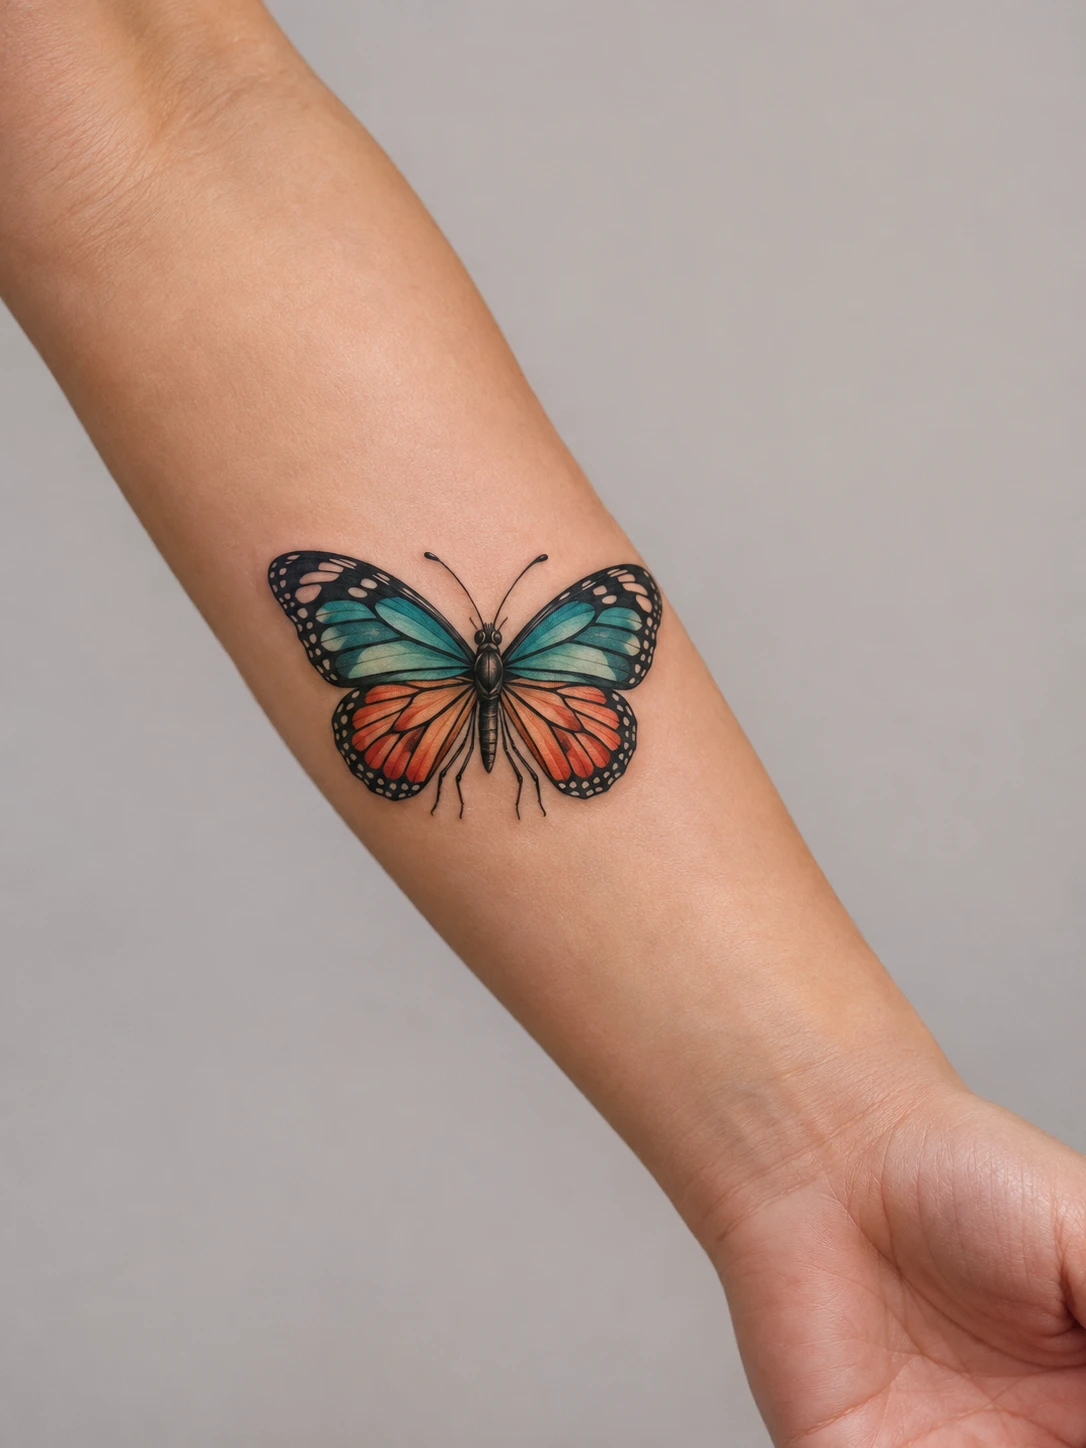

That’s how to read your own result, too. Pick a line you care about and follow it across both images. If you lose it halfway, zoom in on the photo to see whether it was visible in the first place.
See what the photo hides
A tattoo on a forearm curves away from the camera. Take the picture from the side and the far wing can look narrower. A bright spot can wash out a black line, while a shadow can look like an extra edge.
Look at the part you care about before uploading. If you can’t read a date in the photo, a tidy-looking stencil may still get it wrong. Use the original flat drawing if you have it.
Take a photo you can trace
Hold the camera in front of the tattoo and leave a little skin around the edges. Move into soft, even light. Then zoom in and follow a thin line through the brightest part of the photo. If it vanishes there, change the light and try again.
Compare the three panels below. In the middle, the wings look narrower. On the right, the bright patch makes the veins hard to follow. If the tattoo wraps around a limb, take a second photo of the part that turns out of sight and keep it for checking the result.
Choose lines, color, or a redesign
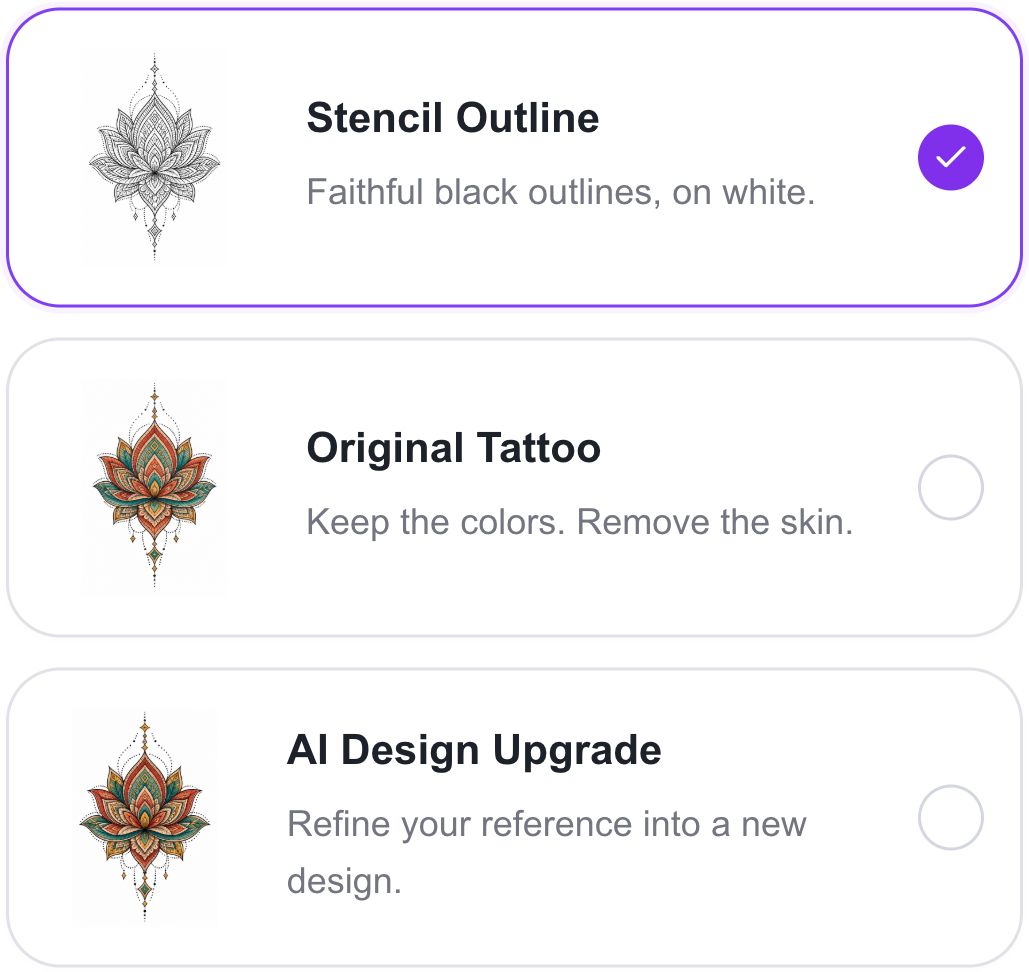
Think about what you want to take from the photo. If you want to see where the lines run, choose Stencil Outline. If you want to keep the red of a rose or the shading between petals, choose Original Tattoo for a color reference. If you want to see how the design could change, choose AI Design Upgrade and compare the new shapes with the original.
Turn the photo into linework
Open the Tattoo Stencil Maker and add your photo. It accepts PNG, JPG, or WebP up to 8 MB. To practice first, click Try our sample.
Choose Stencil Outline and confirm you have permission to use the image. Check the credit information beside Create Stencil, then click it. Keep the original open so you can compare the two as soon as the result appears.
Follow the lines in the result
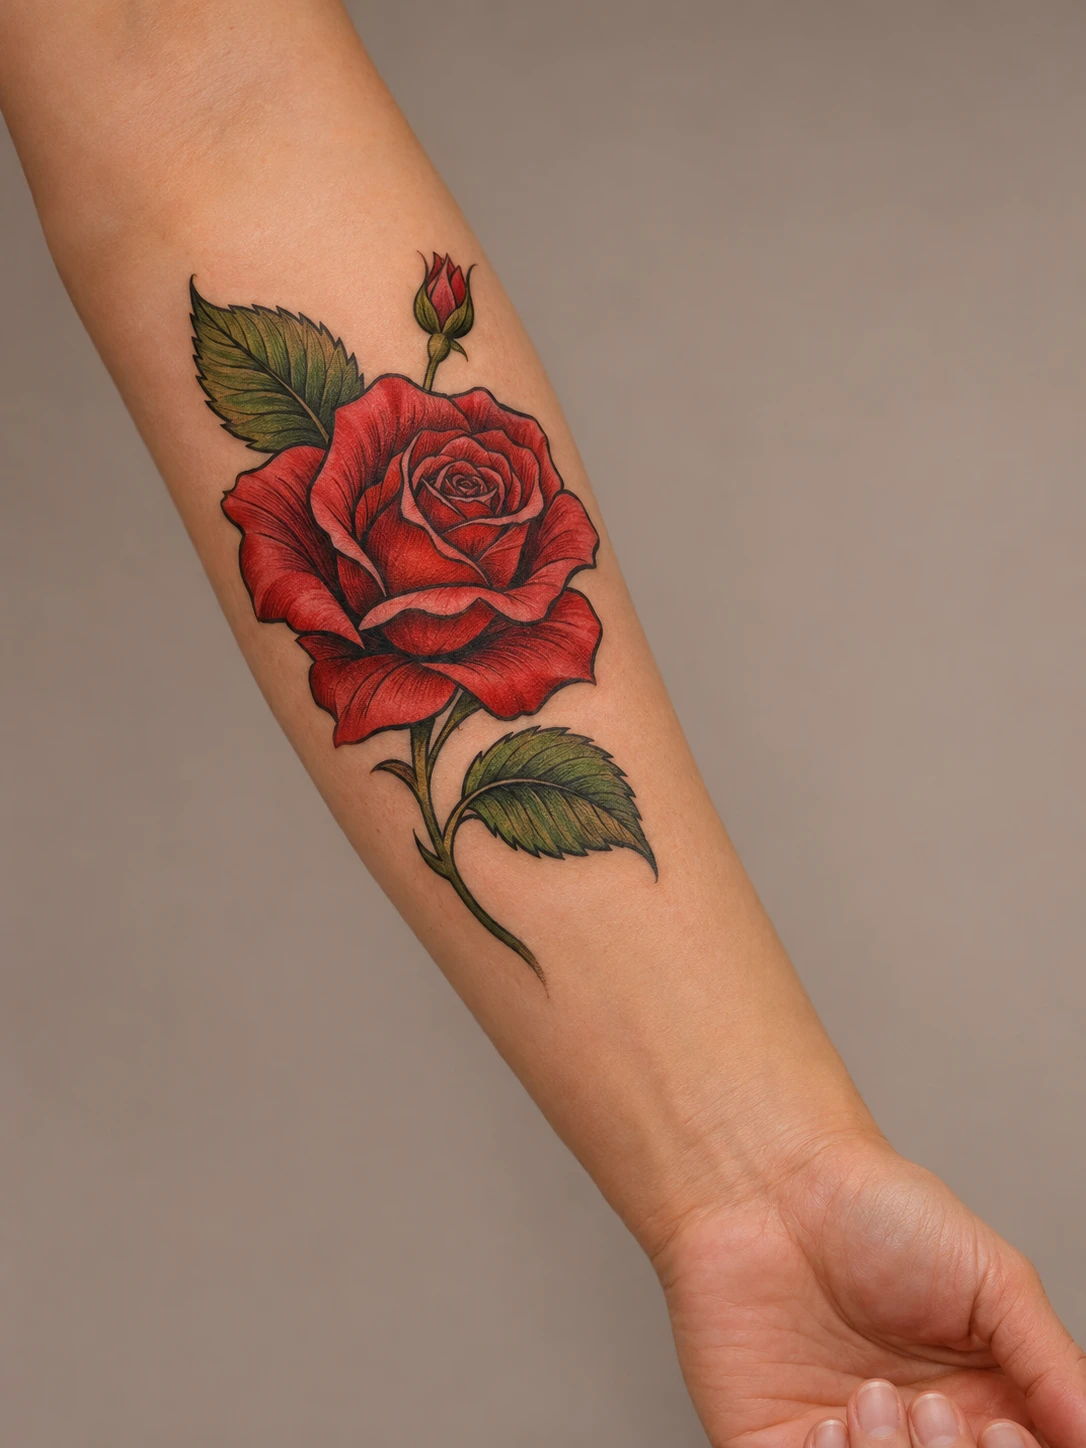
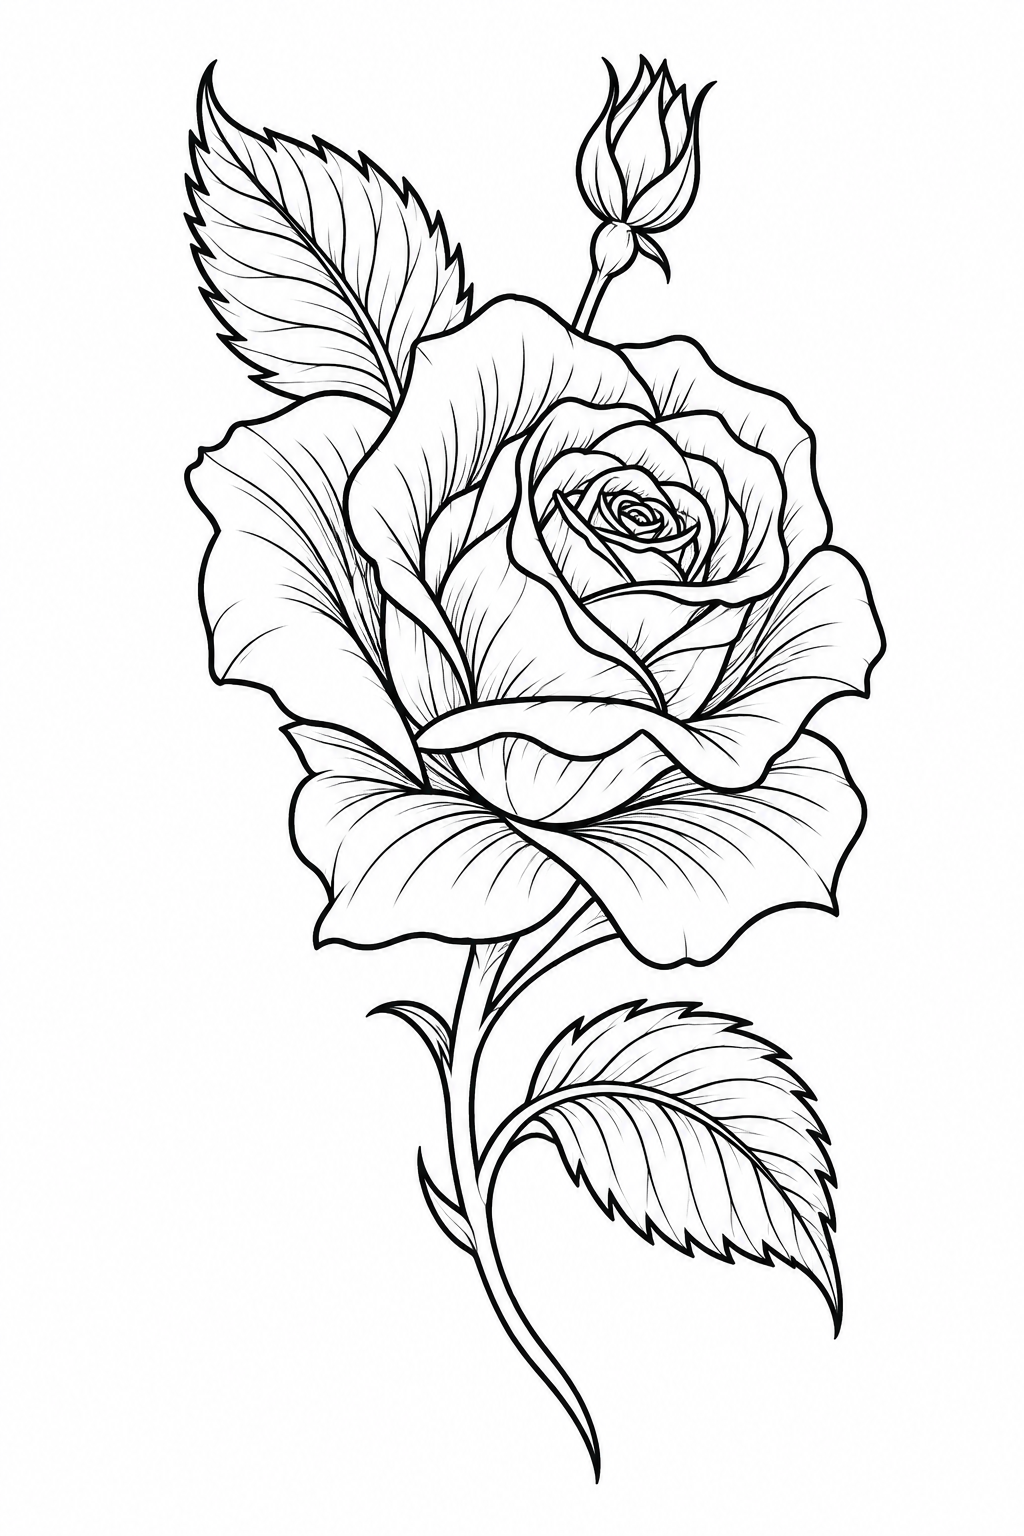
Look at the rose below. Start where two petals overlap and follow the edge of the petal in front. Can you still see where it ends and the next one begins? In the close-up, look inside the purple circle for the white gap. The drawing beside it shows what it looks like when that gap disappears.
Next, read any names or dates one character at a time. Then shrink the preview to roughly the size you want on skin. If two lines only separate when you zoom in, mark that spot for your artist.
Fix the part that looks wrong
Go back to the source before you try again. If a line disappears under glare, take a new photo in softer light. If the stencil picks up a skin fold or the edge of another tattoo, crop closer while keeping the whole design in frame.
If a faded letter or date comes back wrong, look for an older photo or drawing you can read. If the lines look right but you miss the color, make a separate reference with Original Tattoo and keep the outline for printing.
Print at the width you want
Open the result and click Download to keep the original PNG. Sign in and unlock the file if prompted. Keep the source photo alongside it so you and your artist can check any line you’re unsure about.
To print, open the PNG in Free Basic Stencil. Enter the width you want in centimeters or inches, choose A4 or US Letter, and export the PDF. Ask your artist if they need a mirrored file.
When you print, select Actual size / 100%. Put a ruler against the 20 mm calibration line on the page. Once it measures 20 mm, show your artist the print and ask them to check the width, spacing, and direction before transfer.
Make a tattoo stencil