How to Create Tattoo Designs With AI
Follow one koi design from a few words to a calf preview. See how to describe the shape you want, compare styles, and revise a detail.
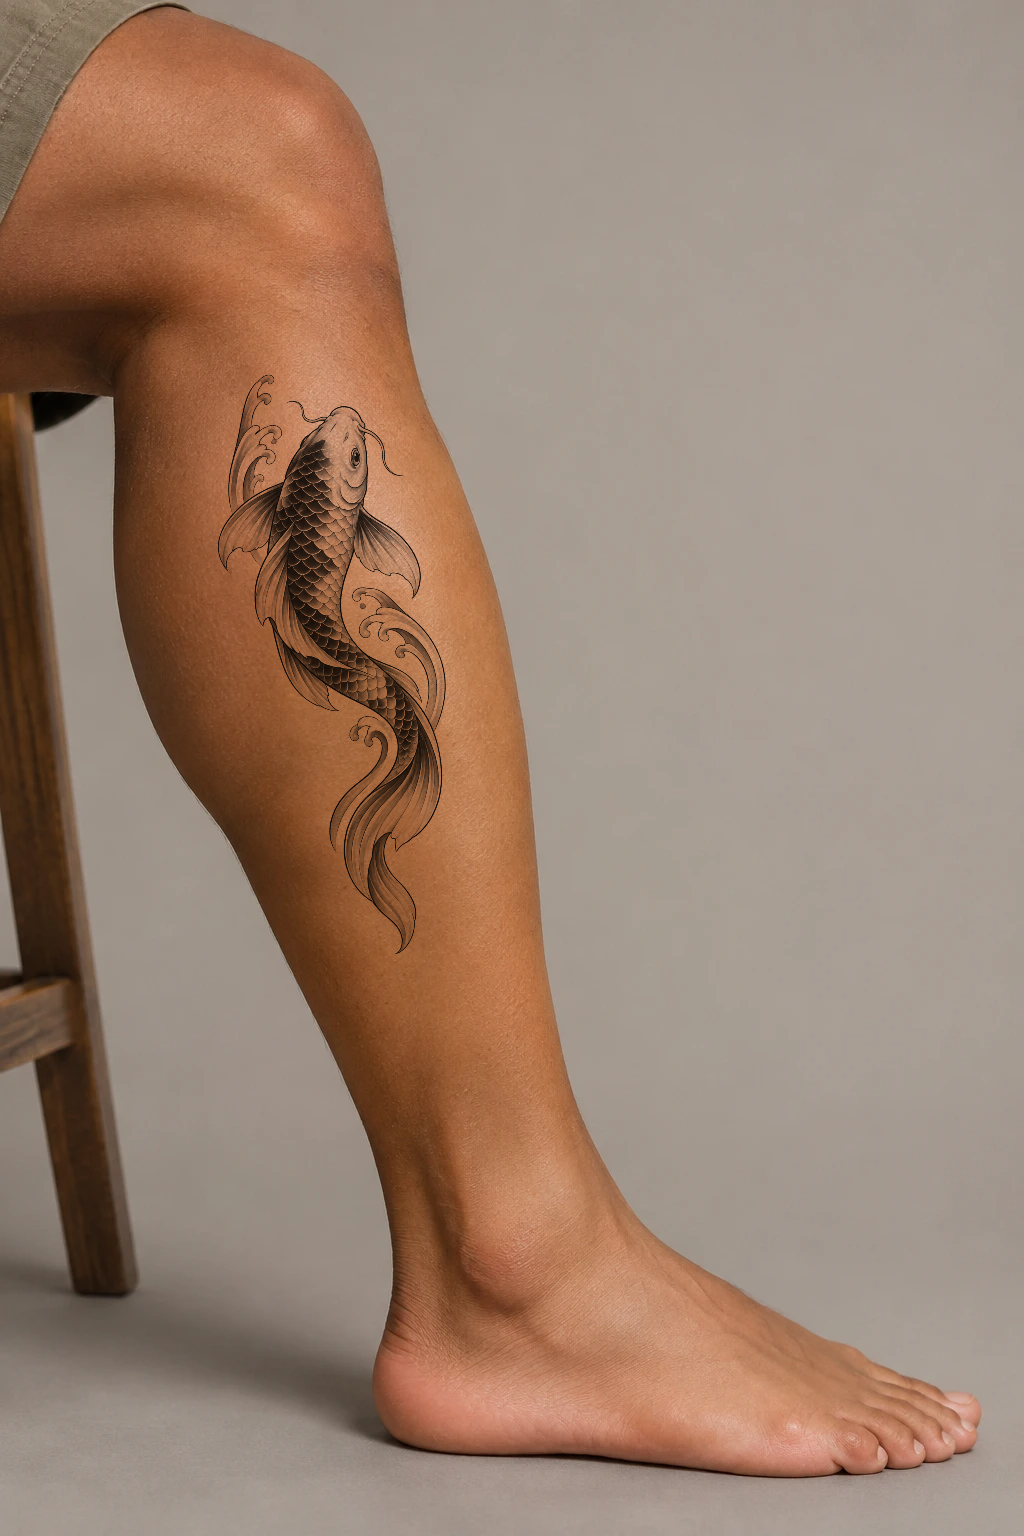
Look at the koi’s head. In the drawing it points up. On the calf, it points toward the knee, and the tail follows the curve down the leg. Both pictures use the same artwork.
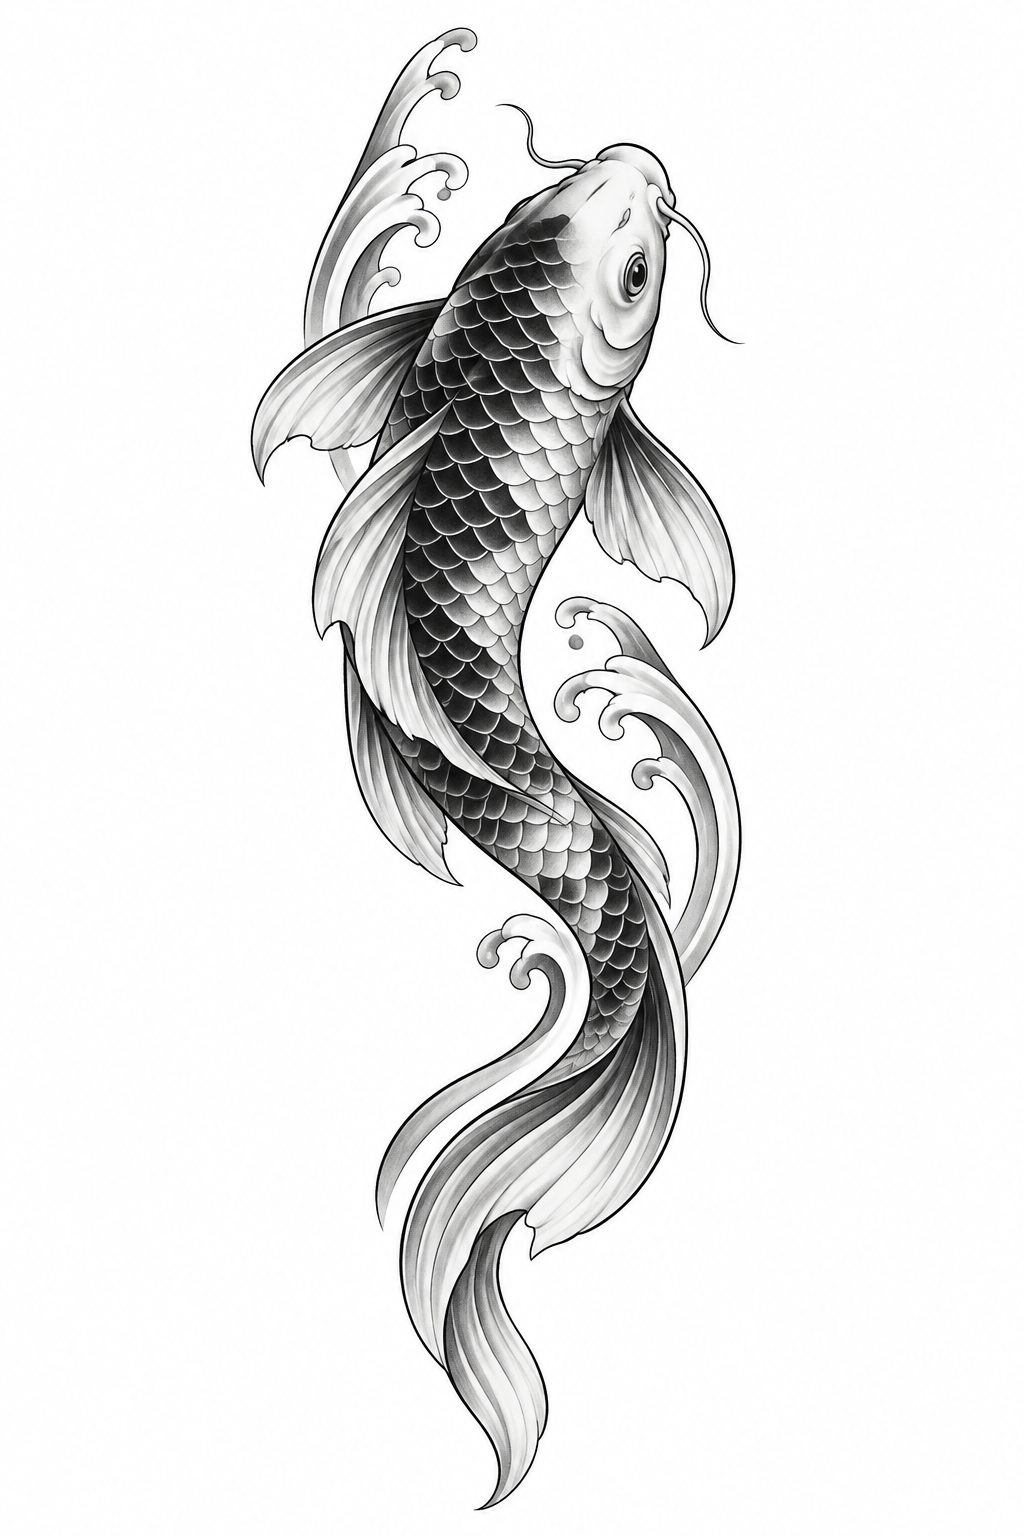
The first instruction was simple: one koi swimming upward. That gave us something to look for when the design came back. For your own idea, start with one detail you’d recognize the moment you see it.
Start with the detail you want to keep
If you can picture the subject in words, open the AI Tattoo Generator. “A koi swimming upward” already gives the tool a shape and a direction.
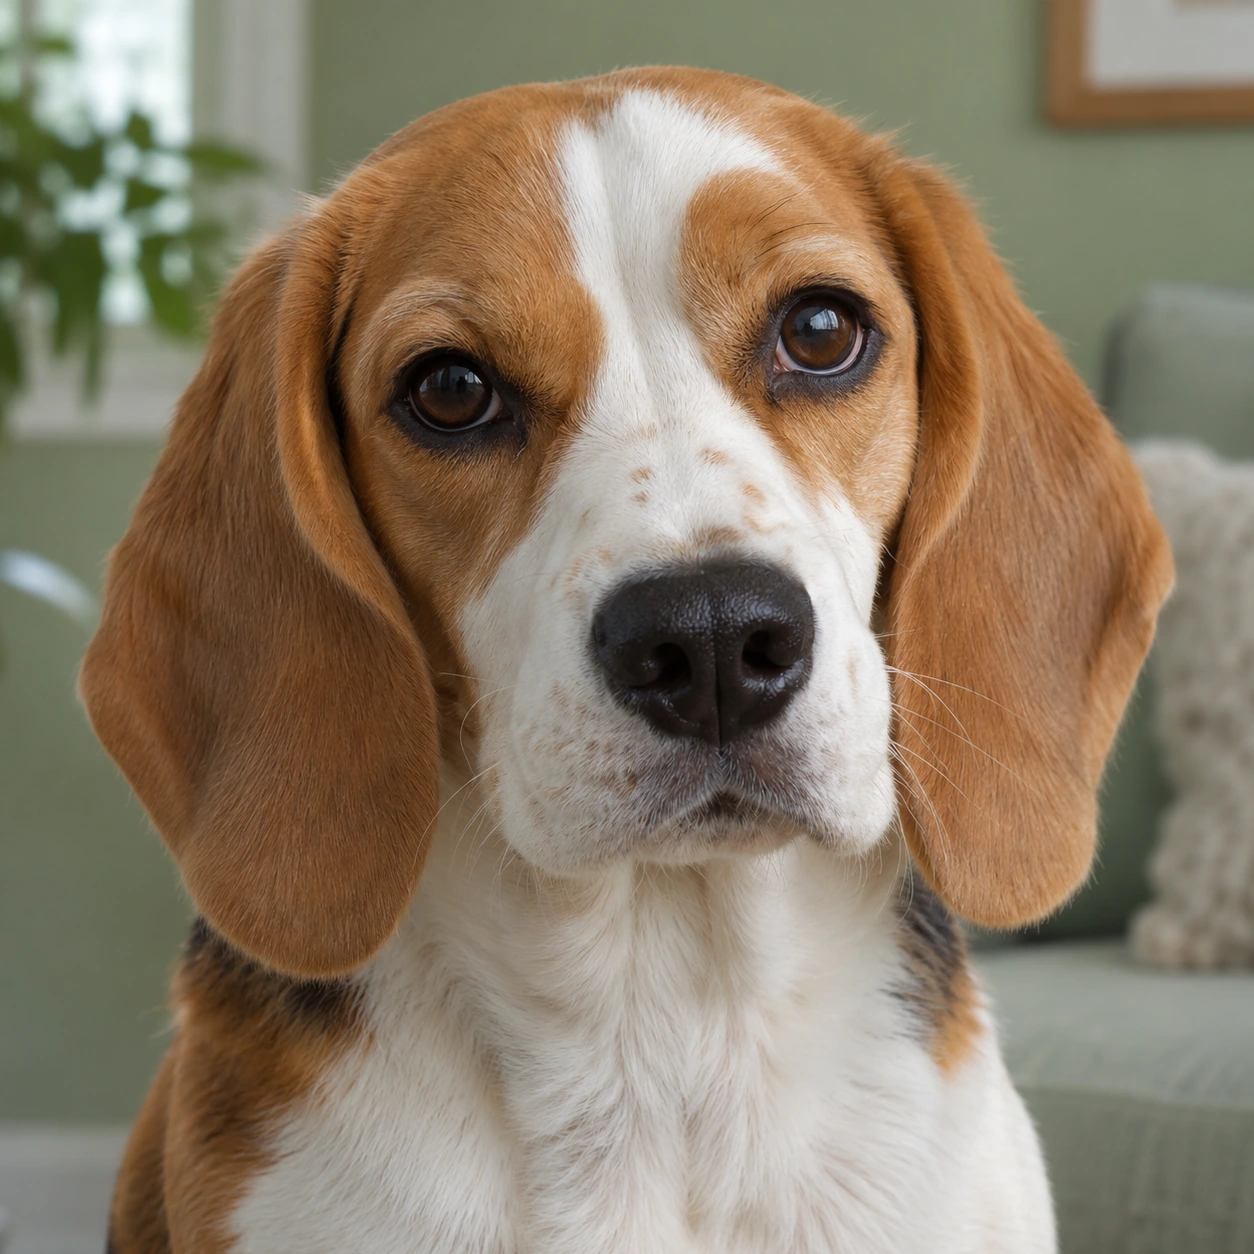
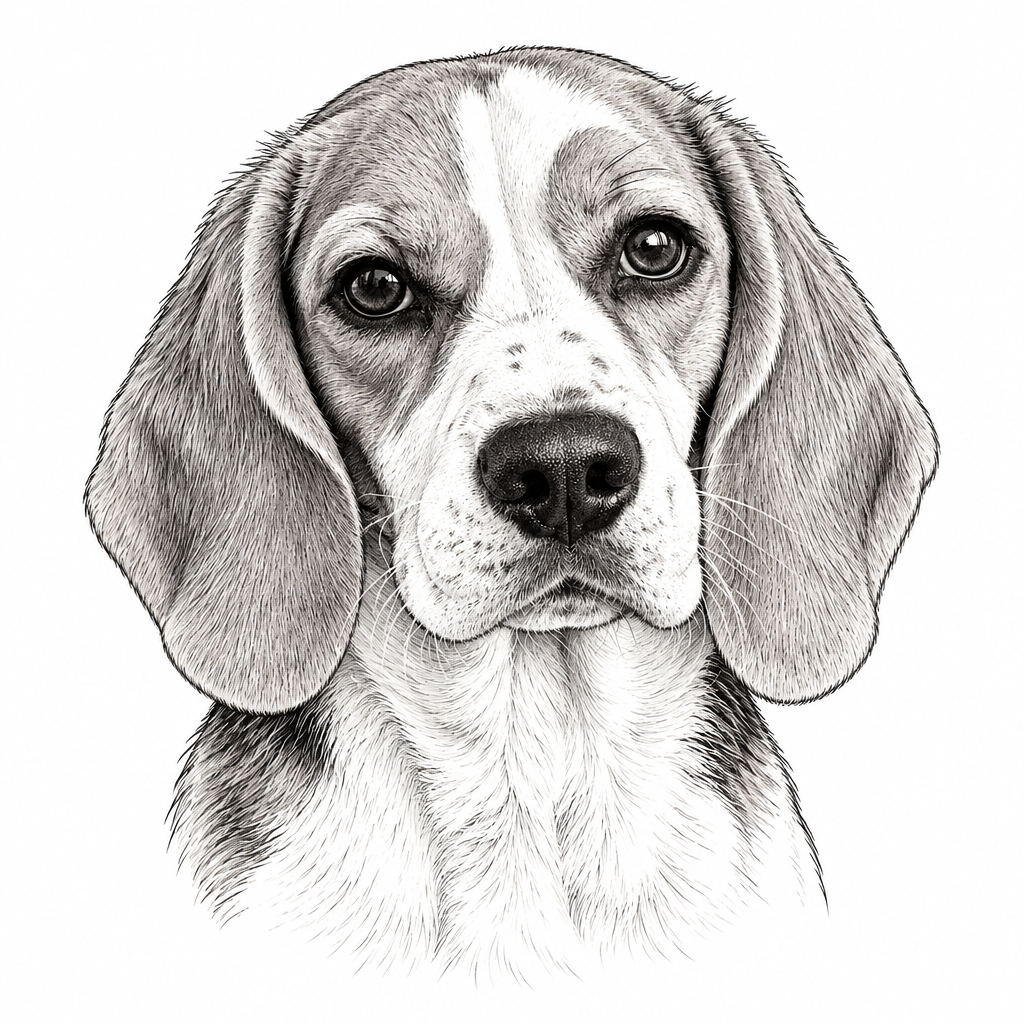
If you want a particular dog’s ears or the outline of a mountain you know, start with a clear photo you have permission to use. In Image to Tattoo, name the feature you want to keep. Look at the beagle below and follow the ears from the photo to the drawing. That’s the kind of detail you can point to when you check your own result.
For a name, date, or short phrase, choose Add text and type it exactly as you want it to appear. Read it back one character at a time when the design comes out. If the letters run together at the size you want, try a simpler style or more space.
Describe something you can check
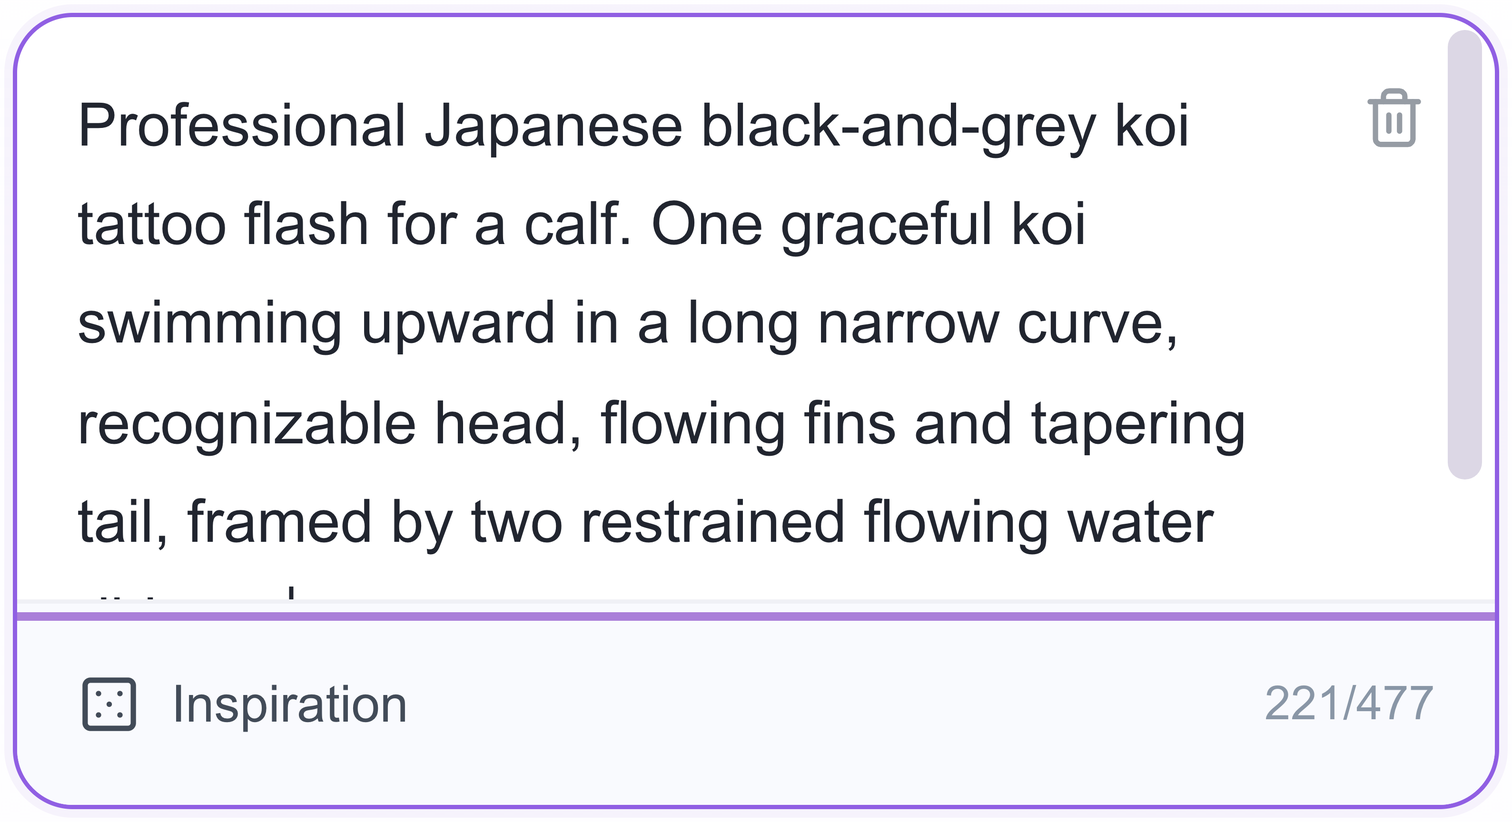
“Koi tattoo” could come back as a fish curled into a circle or a fish stretched along a leg. Say which one you have in mind. In our brief, the fish swims upward in a long curve, its head and tail stay in frame, and two simple ribbons of water leave room around the fish.
Add the marks you want to see. For this design, we asked for black and grey, strong outlines, and readable scales. Leave out anything that would crowd the shape. Here we skipped flowers and lettering. If you can tell whether each request made it into the picture, the description gives you something to work with.
Make your first draft
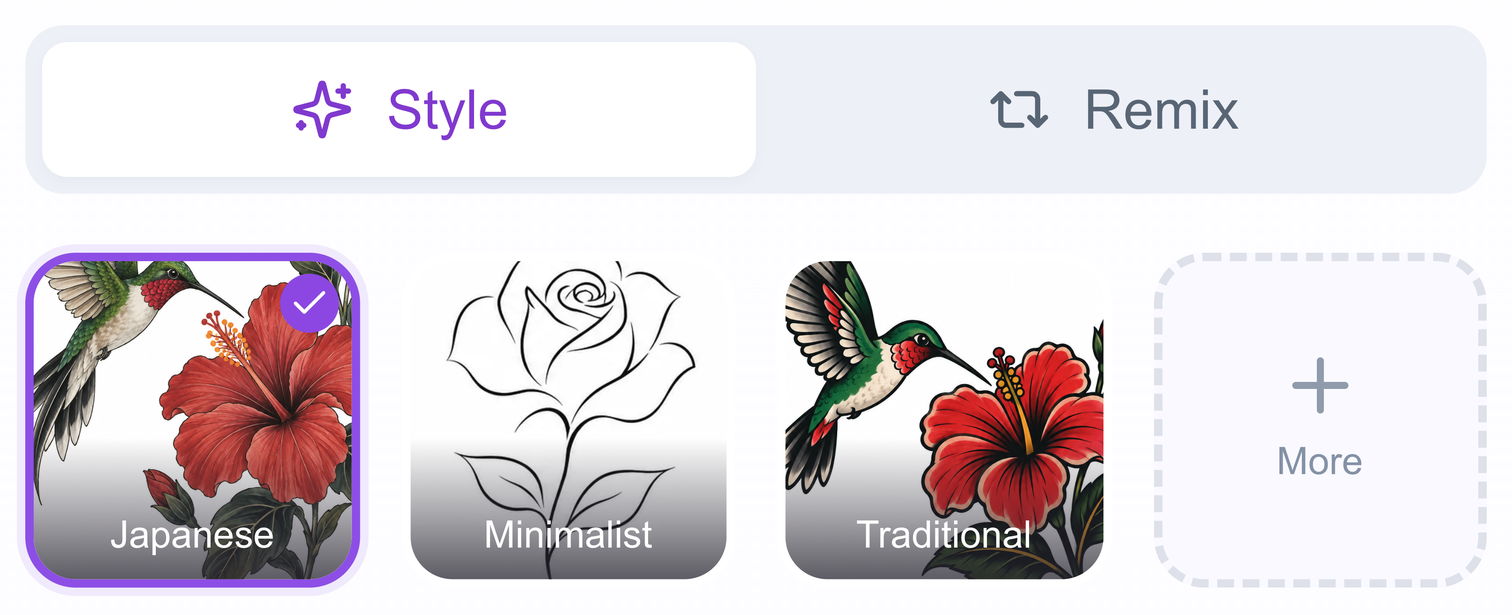
Open the generator workspace and type your idea into Prompt. Choose a style. We picked Japanese for the koi and used a tall layout so the whole fish could fit from head to tail. You can use Body Part / Proportion and Complexity to steer the shape and the amount of detail.
Check the credit information beside Generate Tattoo, then click it. When the draft appears, go back to your description. For the koi, start with the head, follow the curve to the tail, and see whether there’s a clear gap between the fish and the water.
Keep the idea and change the style
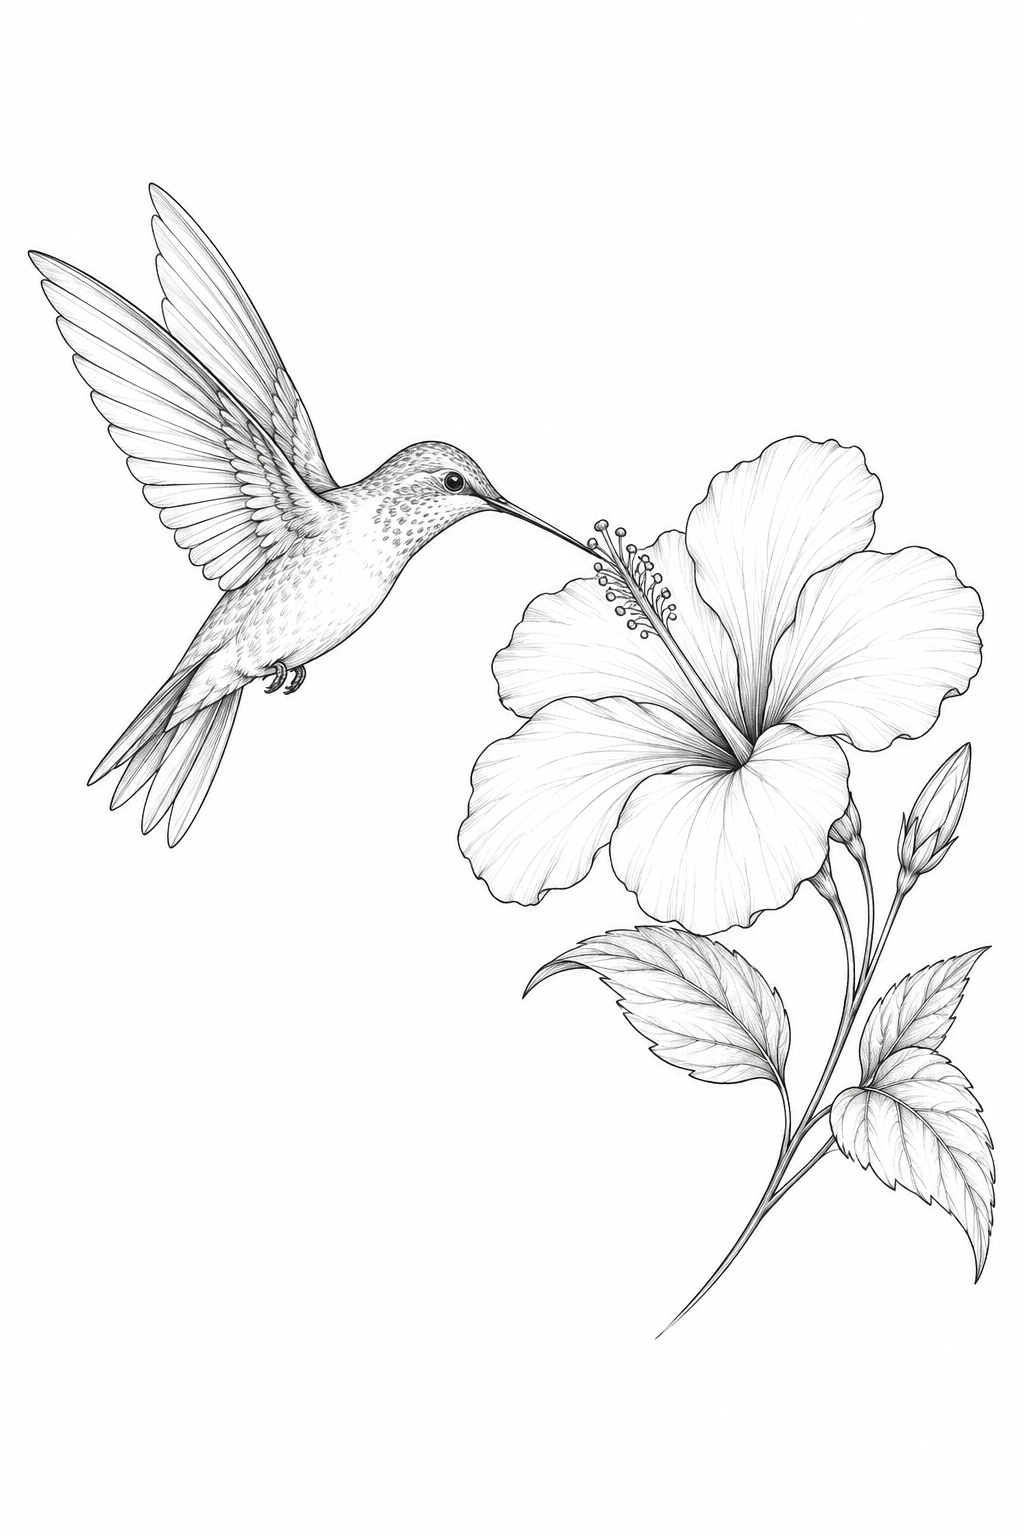
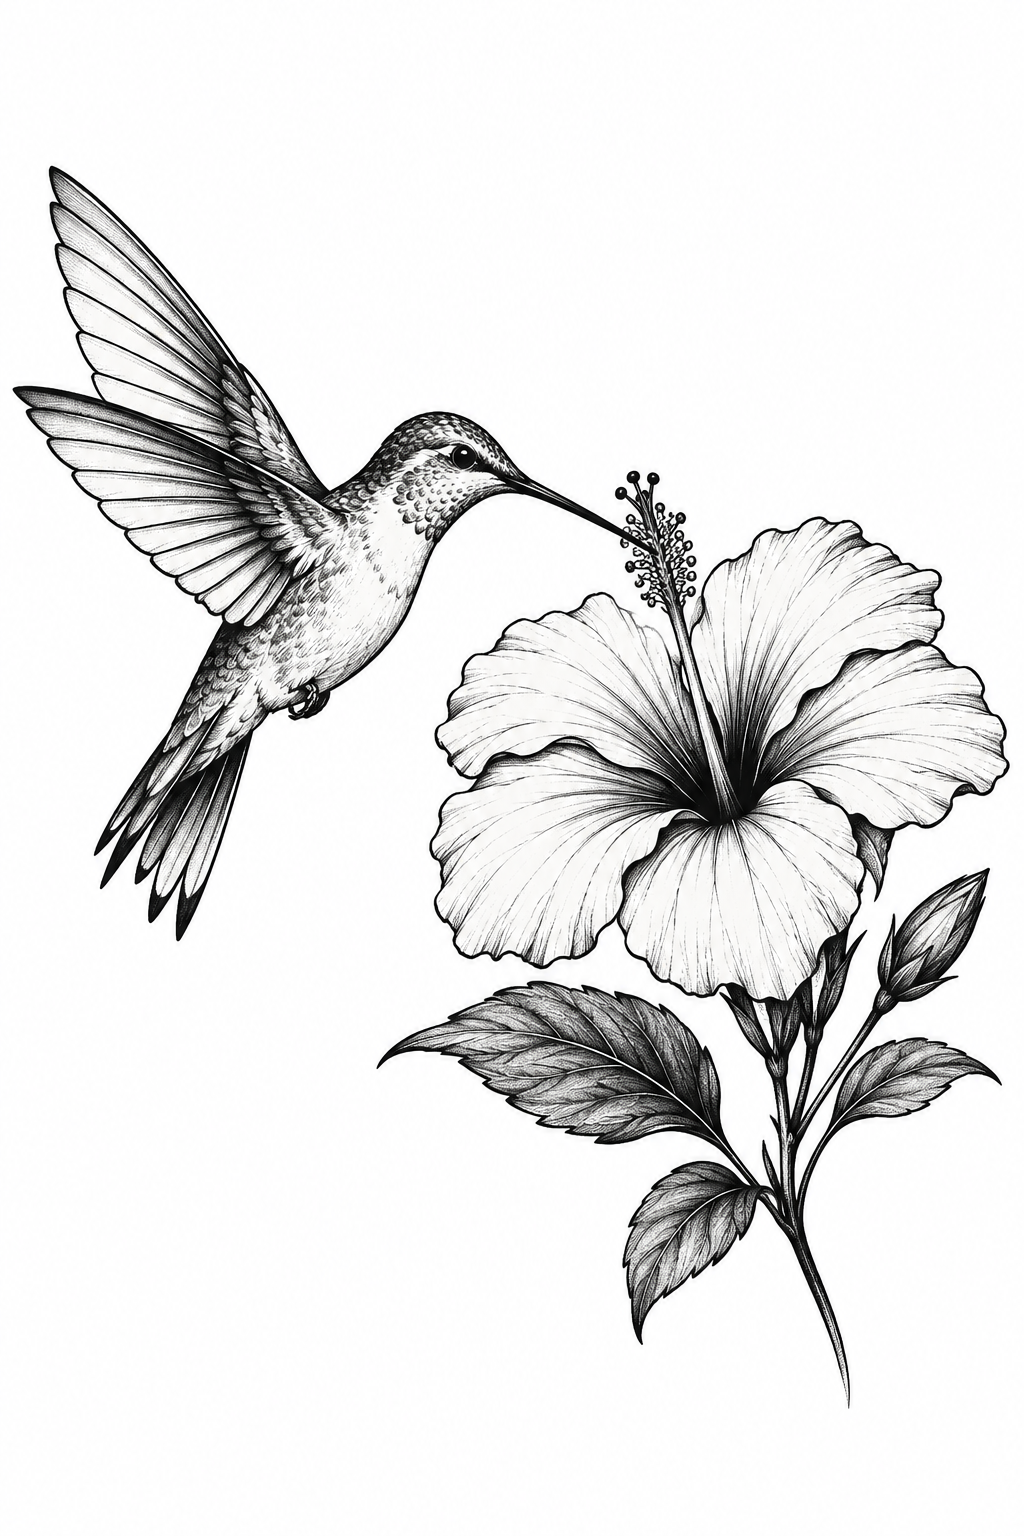
Look at the wings on these two hummingbirds, then look at the white around them. The Fine Line version uses thinner marks. The Blackwork version gives the darker shapes more weight. Both started with the same request: a hummingbird hovering beside one hibiscus.
Try that with your own idea. Keep the description, change the style, and look at the two drafts at the same size. The arrangement can shift between generations, so check that the detail you care about is still there before picking a version.
Change one detail with Remix
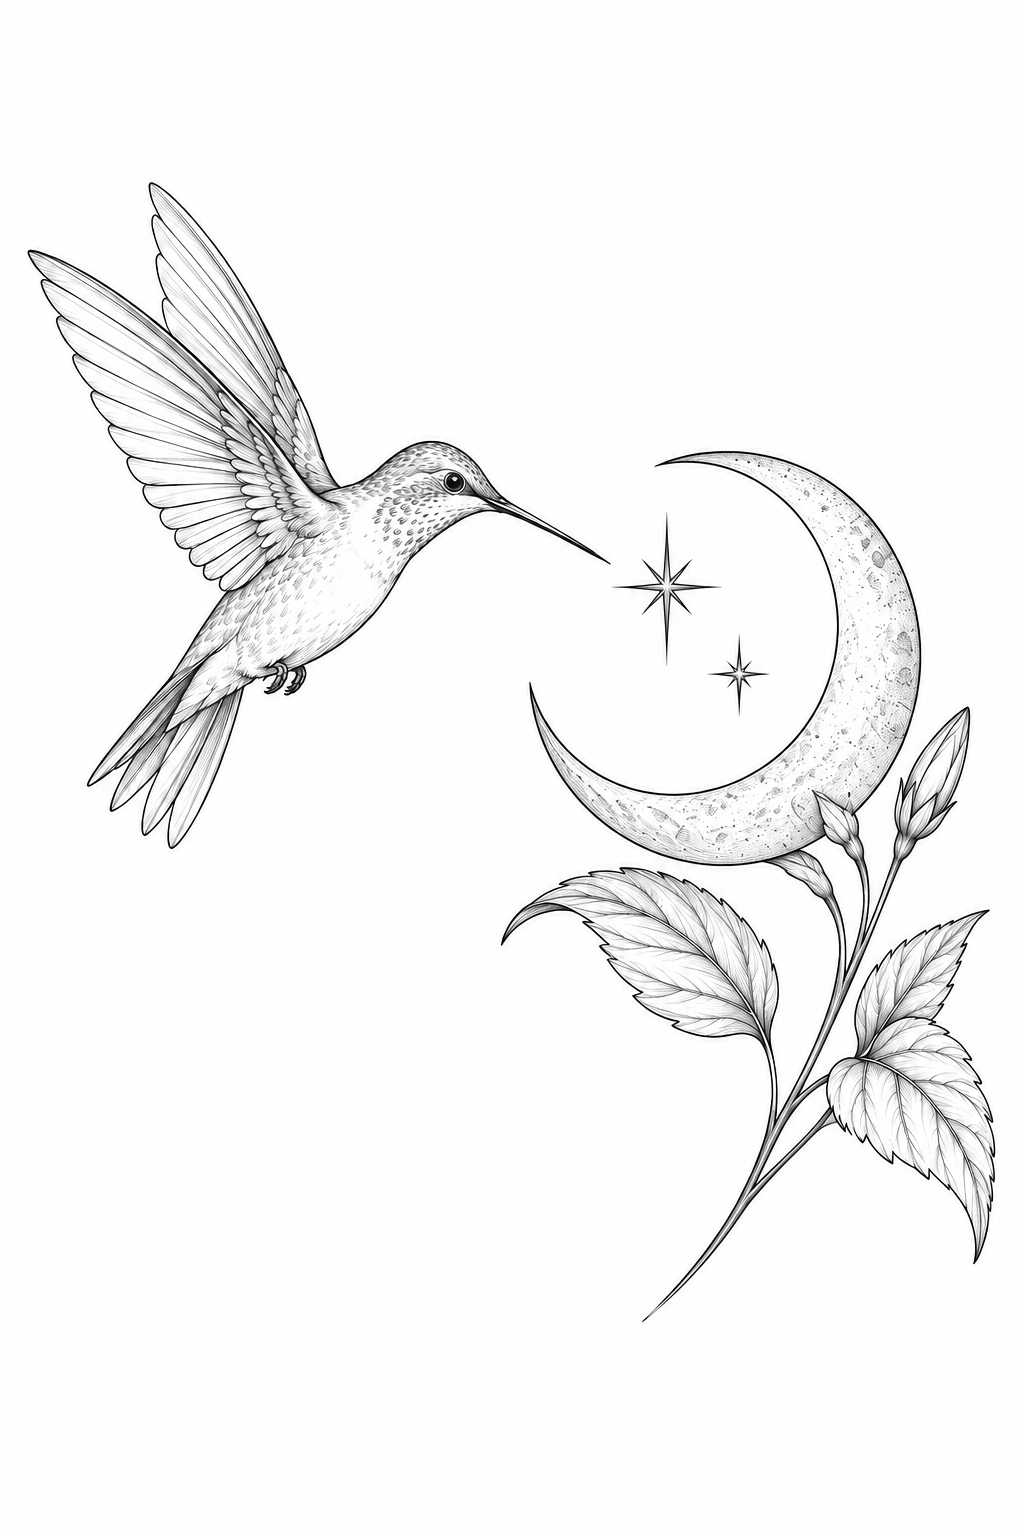
If you like the bird but want to swap the flower, open the unlocked draft and choose Remix. Give it one change and say what should stay. Here we asked for a crescent moon and two small stars in place of the hibiscus, while keeping the bird, the fine lines, and the open space around it.
Look at the flower’s place first, then go back to the wings. A revision can also change the parts you asked to keep. Save the first draft so you can compare them side by side.
See how the design sits on your body
Open Try On Tattoo and put the artwork on a body photo in Classic mode. Drag it where you’re thinking of placing it, then turn it so it follows the body. In the preview at the top, the koi tilts slightly along the calf.
Make it a little smaller and look at the gap between the fins and the water. If that gap disappears, try simplifying the lines before shrinking the draft again. Our placement and size guide shows how to compare two versions using the same photo.
Show your artist what matters to you
Keep the original PNG when the download is available, and save a copy of the placement preview. At your appointment, point to what you want to keep. With this koi, you might say, “I like the way it swims up the leg. Can we leave more room between the scales?”
Show your artist where you’d like the design to start and end. They can measure that spot and adjust the lines for the size you agree on.
Start your tattoo design